
How to Install a Water Heater | Easy & Quick!

Are you thinking of hiring an installation team for your water heater? Fear not! Because with DispensersTech everything is now possible without the need of hiring a professional. Let’s delve into the process without wasting any more time.
Installing a water heater might seem like a daunting task, but with the right guidance, it can be a manageable DIY project. In this comprehensive guide, we’ll walk you through the step-by-step process of installing a water heater, covering everything from safety precautions to troubleshooting tips.
Why do you need a Water Heater?
A water heater is a crucial appliance in any household, providing hot water for various daily activities. Whether it’s for a warm shower or doing the dishes, having a properly installed water heater ensures comfort and convenience.
Brief Overview of the Installation Process
Installing a water heater involves careful planning, adherence to safety guidelines, and a step-by-step approach. By understanding the different types of water heaters and following our detailed guide, you can successfully install a water heater on your own.
Types of Water Heaters
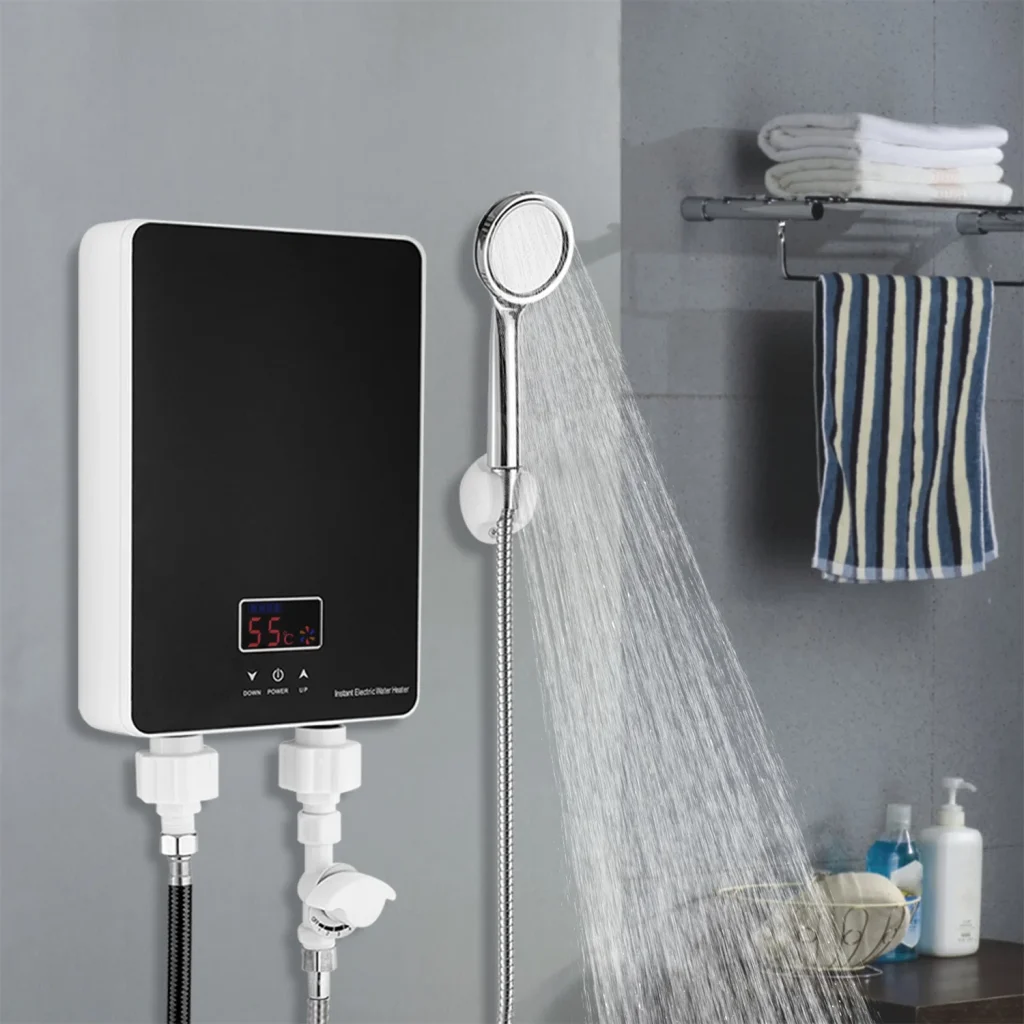
Tankless Water Heaters
GET THE BEST TANKLESS WATER HEATER HERE
1. Energy Efficiency Benefits
Tankless water heaters are reknowned for their energy efficiency, as they heat water
when needed. In the long run, this can save a lot of money.
2. Installation Considerations
However, the installation of tankless water heaters requires specific considerations, such as the need for proper venting and sizing based on household demand.
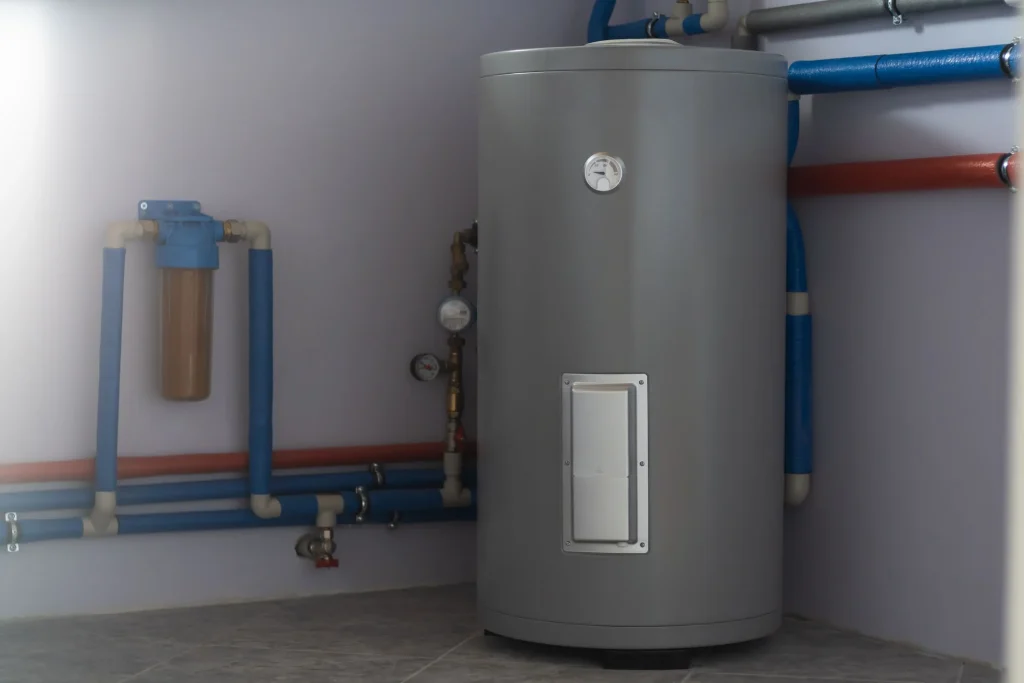
Traditional Tank Water Heaters
GET THE BEST INSTANT HOT WTER HEATER HERE
1. Cost Considerations
While traditional tank water heaters might be more affordable upfront, they come with ongoing operational costs and a larger footprint.
2. Space Requirements
Tank water heaters need ample space for installation, making them suitable for larger utility areas.
Pre-Installation Preparation
Safety Precautions
Safety should be a top priority. Turn off the gas and electricity to the water heater before beginning the installation.
Shutting Off Utilities
Disconnect water and gas utilities to the existing water heater before removal.
Checking the Installation Area
Inspect the installation area for any obstacles or potential issues.
Step-by-Step Installation Guide
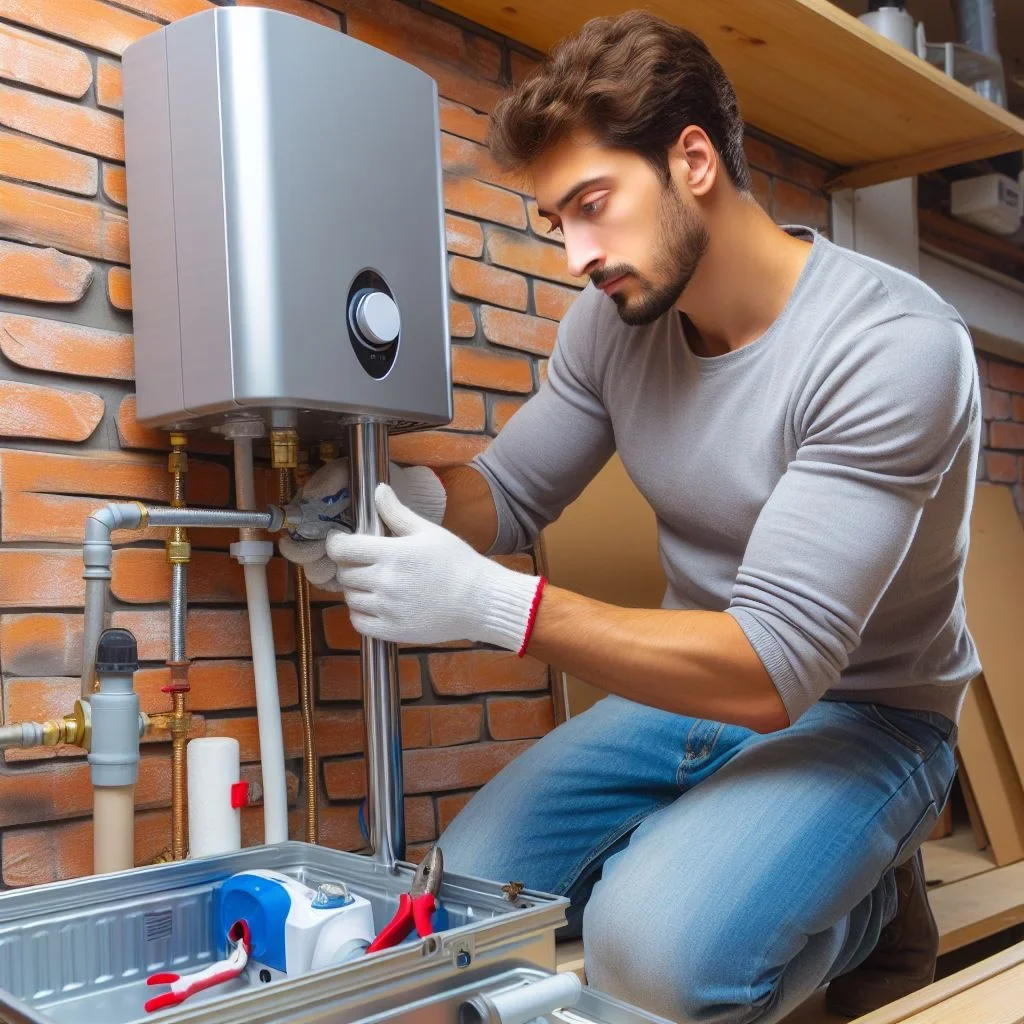
Tankless water heater installation:
Tools and Materials:
- Tankless water heater
- Gas line (for gas-powered units) or electrical wiring (for electric units)
- Venting kit (if required)
- Pipe wrench
- Adjustable wrench
- Screwdrivers
- Tubing cutter
- Teflon tape
- Pipe fittings
- Gas shut-off valve (if installing a gas unit)
- Compression fittings (if installing a gas unit)
- Flue pipe (if required)
- Pressure relief valve
- Copper tubing or flexible water lines
- Pipe insulation
- Pipe hangers or brackets
- Gas leak detector solution
- Plumber’s tape or pipe dope
Step-by-Step Guide:
1. Choose the Location:
- Select a location for the tankless water heater that complies with local building codes and provides proper venting (if needed).
2. Shut Off Utilities:
- Cut the gas or electricity supply to the water heater that is currently in use.
- Shut off the water supply to the house.
3. Remove Old Water Heater:
- Remove and disconnect the old water heater.
4. Install Gas Line or Electrical Wiring:
- If installing a gas unit, run a new gas line to the tankless water heater location.
- If installing an electric unit, install the necessary electrical wiring.
5. Mounting the Unit:
- Mount the tankless water heater securely on the wall, following the manufacturer’s guidelines.
6. Connect Water Lines:
- Connect the hot and cold water lines to the unit using copper tubing or flexible water lines.
- Use appropriate fittings and make sure connections are tight.
7. Venting (if required):
- Install the venting kit according to the manufacturer’s specifications.
8. Gas Unit Specific Steps:
- Install a gas shut-off valve.
- Connect the gas line to the unit using compression fittings.
- Test for gas leaks using a gas leak detector solution.
9. Electrical Unit Specific Steps:
- As directed by the manufacturer and local codes, connect the electrical wiring.
10. Pressure Relief Valve:
- Install a pressure relief valve on the hot water outlet.
11. Insulate Pipes:
- Insulate the hot water pipes to prevent heat loss.
12. Check for Leaks:
- Turn on the water and check for any leaks in the connections.
13. Turn on Utilities:
- Activate the power or gas supply.
14. Set the Temperature:
- Set the desired temperature on the tankless water heater.
15. Test the Unit:
- Turn on hot water taps to ensure the unit is working correctly.
16. Verify Venting (if applicable):
- Check the venting system for proper operation.
Always refer to the specific installation instructions provided by the manufacturer for your tankless water heater model. If you are unsure or uncomfortable with any step, it’s recommended to hire a professional plumber or technician to ensure a safe and proper installation.
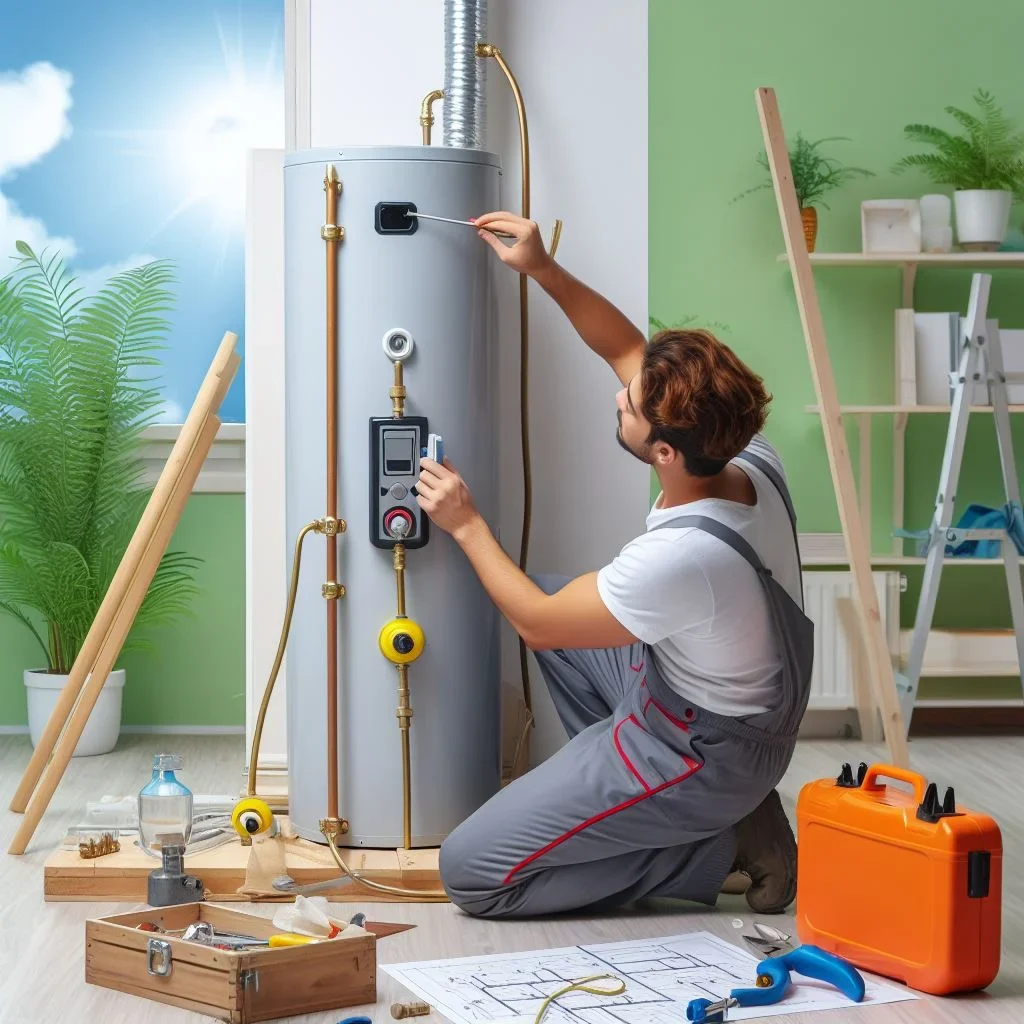
Traditional Tank Water Heater Installation:
Tools and Materials:
- Tankless water heater
- Gas line (for gas-powered units) or electrical wiring (for electric units)
- Venting kit (if required)
- Pipe wrench
- Adjustable wrench
- Screwdrivers
- Tubing cutter
- Teflon tape
- Pipe fittings
- Gas shut-off valve (if installing a gas unit)
- Compression fittings (if installing a gas unit)
- Flue pipe (if required)
- Pressure relief valve
- Copper tubing or flexible water lines
- Pipe insulation
- Pipe hangers or brackets
- Gas leak detector solution
- Plumber’s tape or pipe dope
Step-by-Step Guide:
1. Choose the Location:
- Select a location for the tankless water heater that complies with local building codes and provides proper venting (if needed).
2. Shut Off Utilities:
- Cut the gas or electricity supply to the water heater that is currently in use.
- Shut off the water supply to the house.
3. Remove Old Water Heater:
- Remove and disconnect the old water heater.
4. Install Gas Line or Electrical Wiring:
- If installing a gas unit, run a new gas line to the tankless water heater location.
- If installing an electric unit, install the necessary electrical wiring.
5. Mounting the Unit:
- Mount the tankless water heater securely on the wall, following the manufacturer’s guidelines.
6. Connect Water Lines:
- Connect the hot and cold water lines to the unit using copper tubing or flexible water lines.
- Use appropriate fittings and make sure connections are tight.
7. Venting (if required):
- Install the venting kit according to the manufacturer’s specifications.
8. Gas Unit Specific Steps:
- Install a gas shut-off valve.
- Connect the gas line to the unit using compression fittings.
- Use a gas leak detection solution to check for gas leaks.
9. Electrical Unit Specific Steps:
- As per the manufacturer’s instructions and local codes, connect the electrical wire.
10. Pressure Relief Valve:
- Install a pressure relief valve on the hot water outlet.
11. Insulate Pipes:
- Insulate the hot water pipes to prevent heat loss.
12. Check for Leaks:
- Turn on the water and check for any leaks in the connections.
13. Turn on Utilities:
- Activate the power or gas supply.
14. Set the Temperature:
- Set the desired temperature on the tankless water heater.
15. Test the Unit:
- Turn on hot water taps to ensure the unit is working correctly.
16. Verify Venting (if applicable):
- Check the venting system for proper operation.
Always refer to the specific installation instructions provided by the manufacturer for your tankless water heater model. If you are unsure or uncomfortable with any step, it’s recommended to hire a professional plumber or technician to ensure a safe and proper installation.
Testing and Troubleshooting
Initial Testing Post-Installation
Turn on the water heater and check for leaks. Ensure hot water is reaching the fixtures.
Common Troubleshooting Tips
Address common issues, such as insufficient hot water or unusual noises, with troubleshooting techniques.
Maintenance Tips
Regular Flushing and Cleaning
Extend the lifespan of your water heater by flushing it regularly to remove sediment buildup.
Checking for Leaks
Inspect the water heater for leaks and address any issues promptly.
Inspecting the Pressure Relief Valve
Ensure the pressure relief valve is functioning correctly by testing it periodically.
Energy-Saving Tips
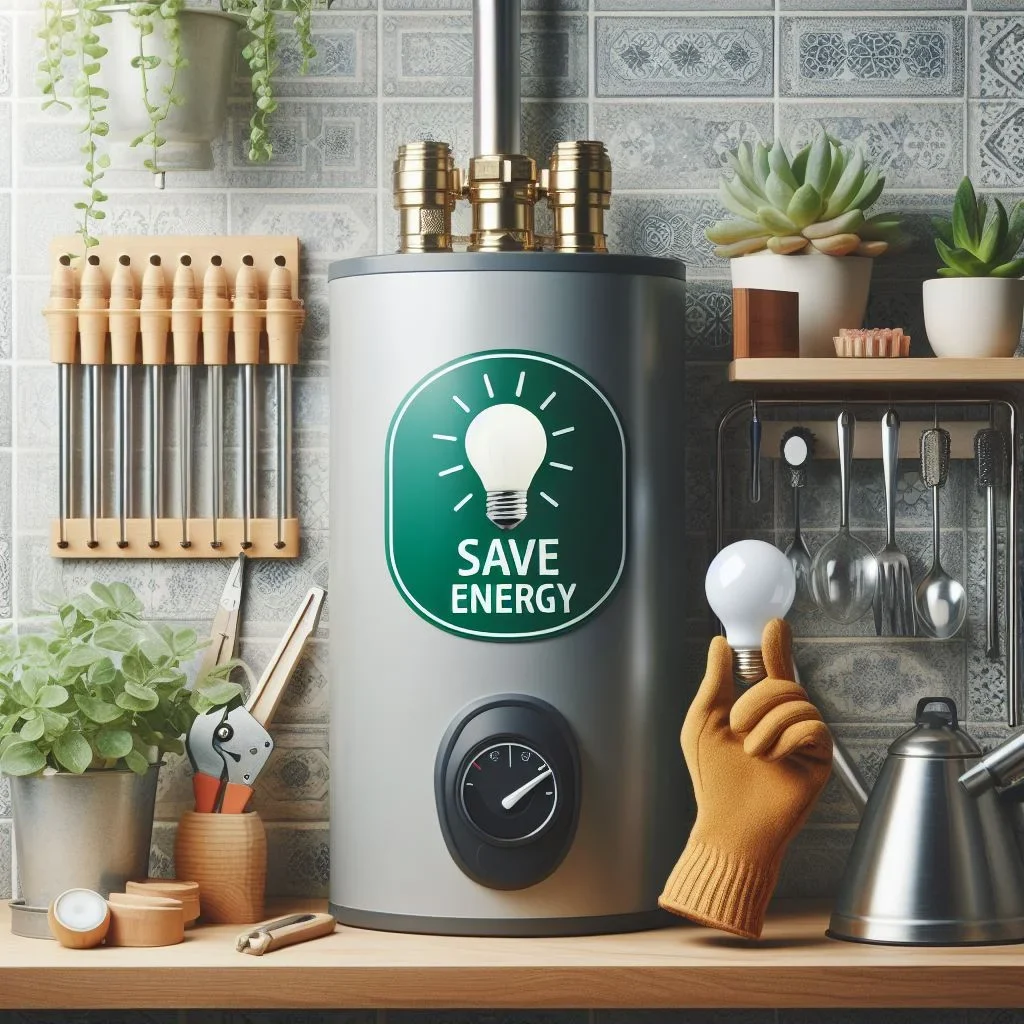
Setting the Thermostat
Optimize energy efficiency by setting the water heater thermostat to an appropriate temperature.
Insulating Hot Water Pipes
Reduce heat loss by insulating hot water pipes, especially in colder climates.
Advantages of Professional Installation
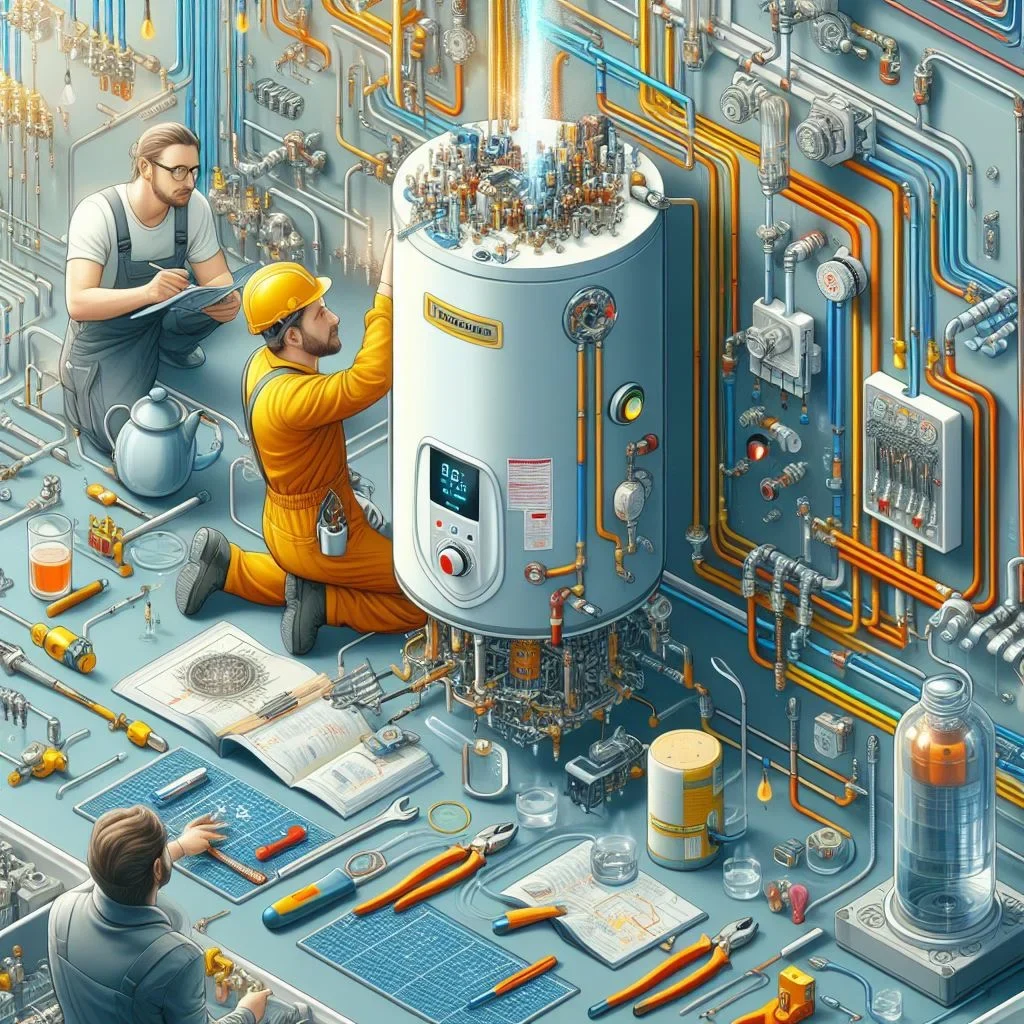
Ensuring Safety and Compliance
Professional installation guarantees compliance with safety standards and local building codes.
Long-Term Benefits of Professional Service
Investing in professional installation can provide long-term peace of mind and potentially lower maintenance costs.
Wrapping Up!
In conclusion, installing a water heater can be a rewarding DIY project with careful planning and execution. By following the outlined steps and considering the provided tips, you can enjoy a reliable and efficient hot water supply in your home.


